600+ Types of Flowers A To Z (With Names and Pictures)
Types Of Flowers By Names (A-Z) Types Of Flowers By Color Types Of Flowers By Season Types Of Flowers By Blooming Time 600+ Types of Flowers No. Flower Name No.…

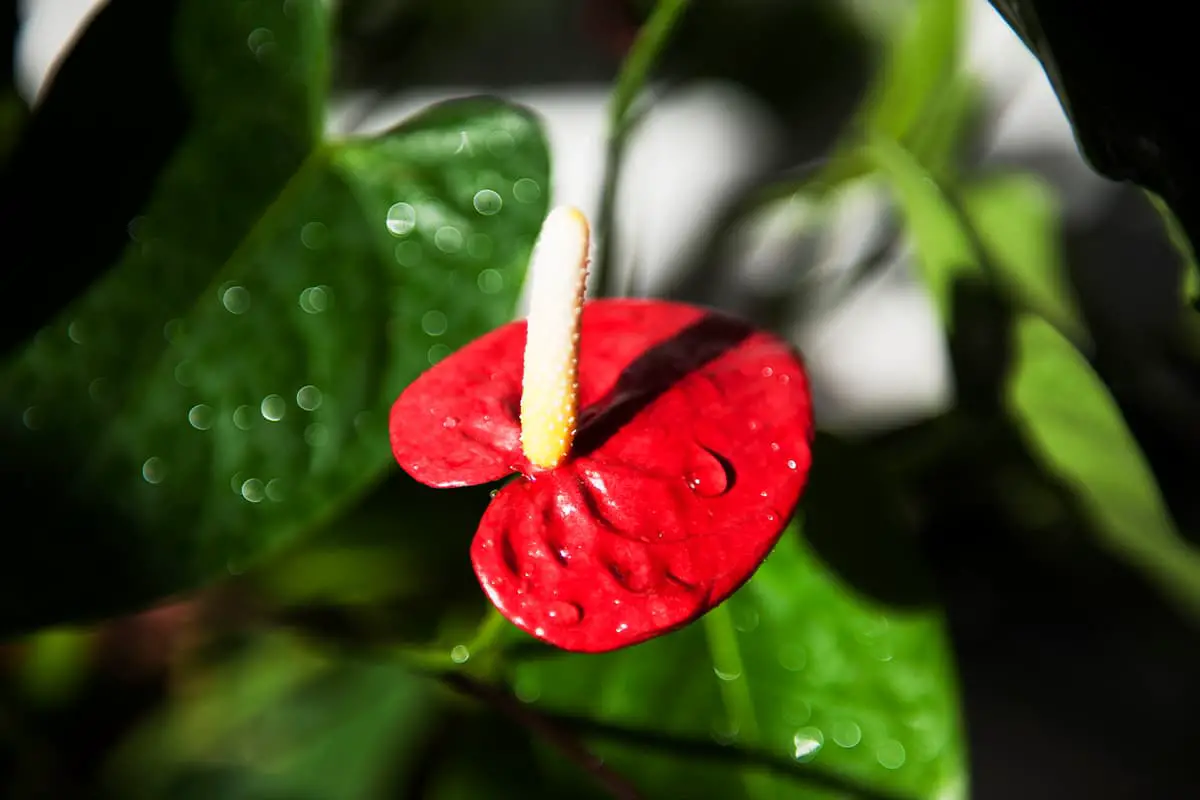
The Anthurium, a perennial evergreen herbaceous plant in the Araceae family, is native to the tropical rainforests of Costa Rica and Colombia. Its stem is short with leaves emerging from the base. These leaves are green, leathery, and completely edged in an oblong heart shape or ovate-heart shape.
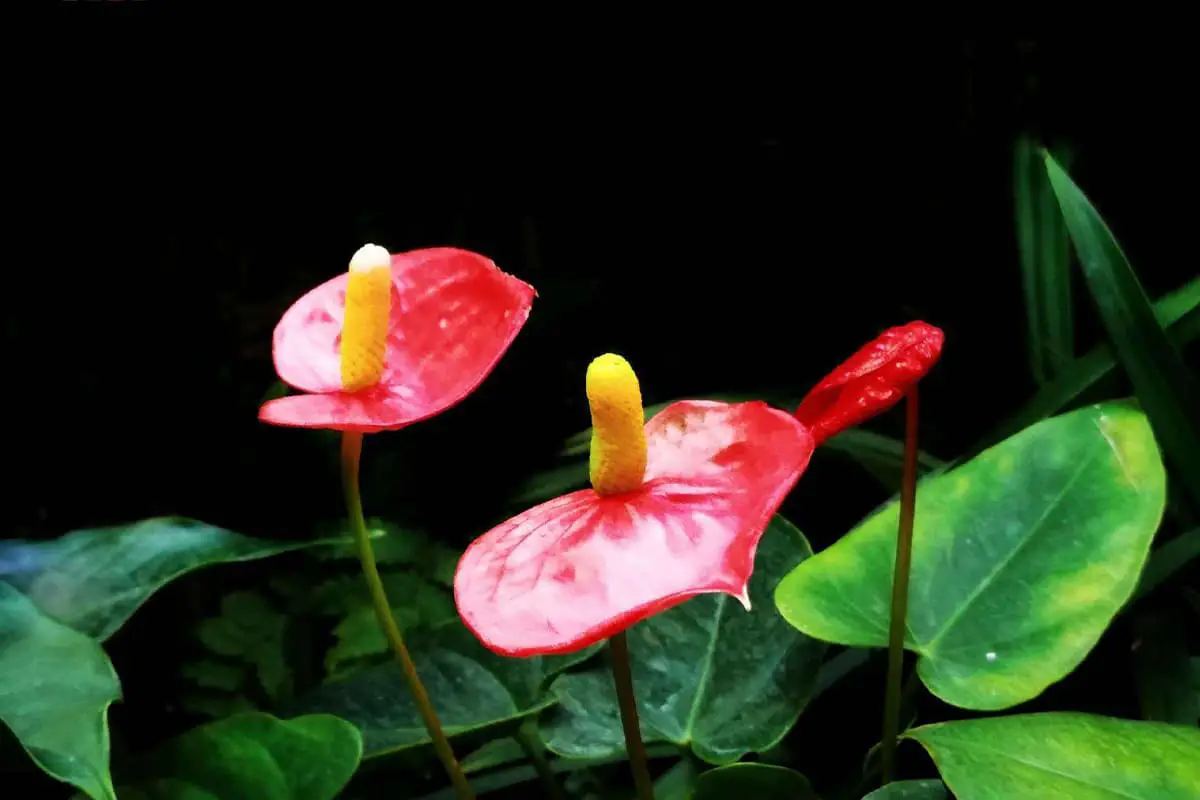
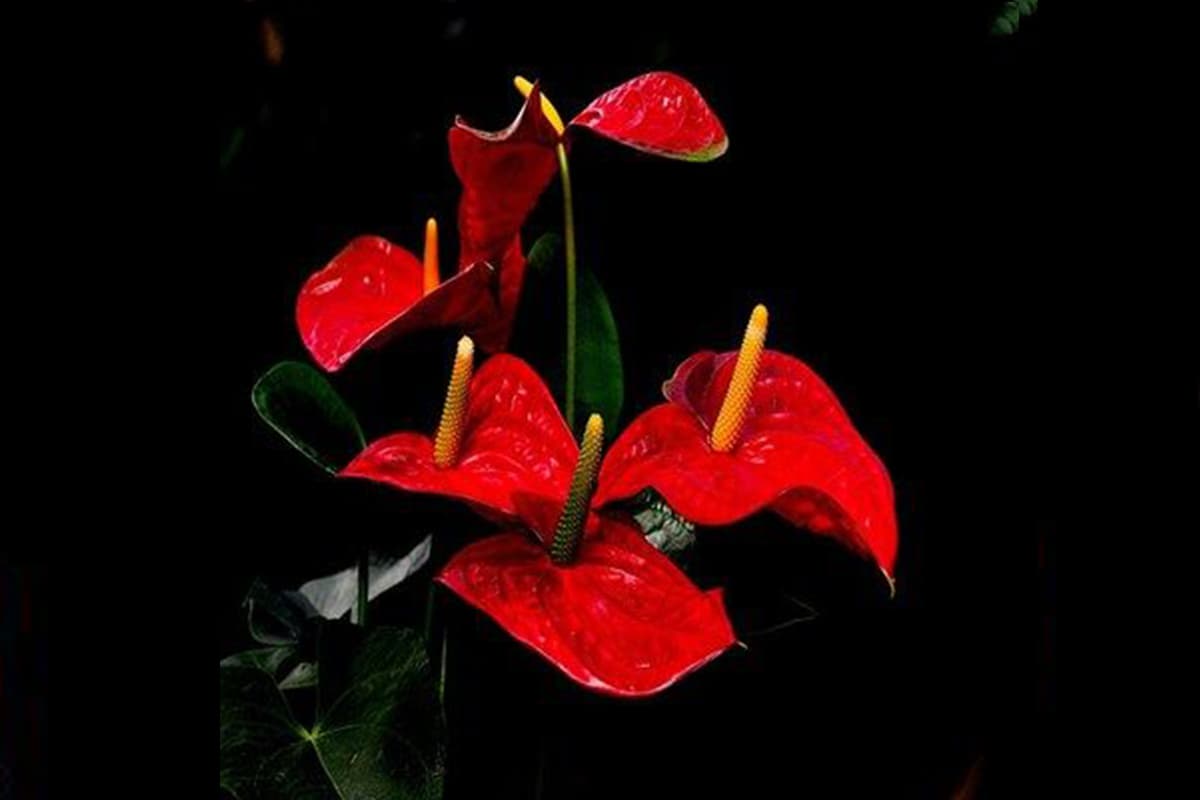
The leaf stalk is thin and long, with the spathe being flat, leathery, and has a waxy luster, in orange-red or scarlet. The yellow spadix can bloom all year round. The Anthurium often grows on trees, sometimes on rocks, or directly on the ground.
It prefers a warm, moist, semi-shady environment and does not tolerate direct sunlight. With its uniquely beautiful flowers, it is suitable for pot planting, cutting, or beautifying shaded areas in gardens.
As a perennial evergreen herbaceous plant in the Araceae family, the Anthurium has short stems. Leaves emerge from the base, are green, leathery, completely edged, and shaped like an oblong heart or ovate-heart.
The leaf stalk is thin and long, with a flat spathe that is leathery and has a waxy luster, in orange-red or scarlet. The yellow spadix is 5-7 cm long and can bloom all year round.
The Anthurium is a perennial evergreen herbaceous flower. It thrives in warm, humid, semi-shady environments with good drainage. It is sensitive to drought and strong light exposure. It prefers daytime temperatures between 26-32℃ and nighttime temperatures between 21-32℃. It can tolerate up to 35℃ and as low as 14℃.
The division is mainly carried out in the cool and high humidity of spring, and in the cool weather of autumn. Avoid dividing in hot summer or dry and cold seasons.
During division, care should be taken not to harm the mother plant. Do not divide too large side buds, too closely attached side buds, or too weak side buds. Mainly divide those that are relatively easy to separate from the mother plant and are robust, with at least 2 main root systems.
When transplanting, you can evenly exert force with your hands to separate the side buds from the mother plant at the underground stem bud. When it’s difficult to separate, use a sharp sterile blade to cut it open at the bud.
When cutting flowers for division, first remove the soil layer, pay attention to the distribution of the root system and the underground stem bud, carefully cut open the bud, and then remove the side bud. The cut side bud should be allowed to dry slightly, then pseudo-planted in a shady place for rooting and recovery growth.
When planting, the root system should be spread flat, and the plant should be upright. Support should be provided if necessary. Water should not be immediately poured after planting, but the leaf surface can be sprayed with water to maintain humidity. After 2 days, watering or applying diluted fertilizer can be carried out depending on the situation.
For erect-stemmed varieties of Celosia, cutting propagation can be used. Cuttings with 1-2 stem nodes and 3-4 leaves are taken and inserted into sphagnum moss. Once they sprout new roots, they can be potted.
Seed sowing is generally used for breeding. Celosia has poor natural pollination and requires manual pollination for seed production. Once the seeds mature, they should be sown immediately. Celosia seeds are large and are usually sown in indoor pots.
The ideal germination temperature is between 25°C-28°C. It takes about 20-25 days for the seeds to germinate and the seedlings need to be cultivated for 3-4 years before they can bloom. The advantage of conventional propagation methods is that they are simple, inexpensive, and slow, meeting the needs for promoting new varieties.
However, propagated plants are susceptible to disease, which can accumulate within the plant, leading to species degradation or even death.
The apices, stem segments, tender leaves, and leaf stalks of Celosia can all be used as tissue culture explants. The explants are rinsed with running water, soaked in 75% alcohol for about 20-30 seconds, rinsed with sterile water, and then sterilized with 0.1% mercuric chloride for 8-10 minutes.
They are then washed thoroughly with sterile water to remove the sterilizing liquid. After removing surface moisture with sterile filter paper and cutting the explants to an appropriate size, they are cultured. Different explants induce regeneration in different ways.
Culturing with apices or buds can directly induce the formation of adventitious or lateral buds. Culturing with leaves, leaf stalks, or stem segments first induces callus tissue, which then differentiates to form buds or somatic embryos.
The culture medium can be MS, 1/2MS, or modified MS. The modified MS medium, which adjusts some components of the MS medium, including reducing the amount of ammonium nitrate, has a good induction effect on Celosia.
The medium is supplemented with 30 grams of sugar per liter and 8-10 grams of agar as a solidifying agent, with a pH of 5.8. Hormone regulation is key. Celosia is sensitive to hormones and has a clear cumulative effect. For bud induction culture, 6-BA1-3 milligrams per liter combined with NAA 0.1-0.2 milligrams per liter can be used.
When culturing with leaves, 6-BA1.0 milligrams per liter and 4-D0.1 milligrams per liter are used first to induce the formation of callus tissue, which is then transferred to a differentiation medium containing 6-BA1.0 milligrams per liter and NAA 0.1 milligrams per liter to induce bud formation.
After inoculation, the culture should be kept in the dark for a few days, with supplementary light from fluorescent lamps for 8-10 hours at a temperature of 25°C. After 45 days of culture, new buds or callus tissue will appear, and the culture can be transferred to a new bottle for subculture.
After 40-50 days of induction culture, the established aseptic culture system is transferred to a new bottle for multiplication and promotion of bud formation.
The culture medium can be MS or modified MS + 30 grams of sugar per liter + 7 grams of agar per liter + 6-BA 0.5-1 milligram per liter + NAA 0.5 milligram per liter, and each generation is cultured for about 50 days. The culture conditions are the same as before.
During the multiplication culture process, the buds grow and multiply. When they reach a certain amount, the amount of hormone can be reduced to 6-BA 0.1-0.2 milligrams per liter, and the buds will grow and produce adventitious roots.
After 1-2 generations of robust seedling culture, the culture medium supplemented with IBA 0.1 milligram per liter or NAA 0.1 milligram per liter promotes root formation.
After 7-10 days of culture on the root-forming medium, adventitious roots will emerge at the base, gradually forming a root system. After about 30-40 days, the plant will also grow to a height of 3-4 centimeters.
Supplemental light during this period can make the seedlings stronger. In the transplanting and greenhouse nursery phase, the seedlings are removed, and the culture medium on the seedlings is rinsed off with water before transplanting. The transplanting substrate can be a mixture of 3 parts peat, 1 part perlite, and 1 part coconut coir, or river sand, broken flower clay, etc.
After planting, the plants are thoroughly watered with 800-1000 times fungicide, and moisture is maintained by misting. In the early stage of transplanting, moderate shading is appropriate. After survival, foliar fertilizer is sprayed every 7-10 days to promote growth.
Regular spraying of fungicides such as polyoxin and carbendazim is used to prevent diseases in seedlings. Young seedlings have tender leaves and stems and are often threatened by pests such as tiger beetles and snails, which need to be controlled.
Good drainage substrate is essential for potting Wax Begonia. For mass production, a composite substrate of peat, perlite, and sand is used in a ratio of 1 cubic meter of peat to 4-5 kg of perlite to 0.15 cubic meters of sand.
The pH should be maintained between 5.5-6.5. The optimal growth temperature is 20-30℃, not exceeding 35℃, and not dropping below 14℃ to avoid frost damage. The best relative air humidity ranges from 70%-80% and should not be less than 50%.
High humidity in the cultivation environment is key to successfully growing Wax Begonias. Therefore, it’s crucial to frequently spray water on the leaf surface throughout the year.
Wax Begonias do not tolerate strong light and should be cultivated under appropriate shading conditions throughout the year. This means choosing greenhouse cultivation with protective facilities. Shading should be applied appropriately in spring, summer, and autumn, especially in summer when 70% shading is required.
Direct sunlight can raise the leaf temperature higher than the air temperature, causing leaf burn, yellowing, bud discoloration, and slowed leaf growth.
Different stages of growth require different pot sizes. Seedlings are typically grown by nursery companies and purchased as medium or larger plants. Therefore, when potting, choose a one-time use 160×150 mm red plastic pot.
The cultivation substrate must have strong water and fertilizer retention, good permeability, no water accumulation, no toxic substances, and the ability to secure the plant. The substrate must be thoroughly disinfected before planting to kill pests and diseases and maintain normal growth.
Wax Begonias prefer shade, so when planting, use a shade net with 75% shading capacity to prevent excessive light exposure.
Double planting is better than single planting. When potting, it’s important to expose the growth point at the heart of the plant above the substrate surface and avoid contact with the substrate.
When potting, first fill the bottom of the pot with 4-5 cm of granulated gravel, then add 2-3 cm of cultivated soil. Place the plant upright in the center of the pot, allowing the root system to fully spread.
Finally, fill in with more cultivated soil until it’s 2-3 cm from the rim, but ensure the growth point at the heart of the plant and the small leaves at the base are exposed. After planting, promptly spray with a fungicide to prevent downy mildew and gray mold.
Wax Begonias are sensitive to salt, so the substrate pH should be controlled between 5.2-6.1 for optimal growth. If the pH is too low, the flower stem shortens, reducing its ornamental value. Tap water is suitable for growing Wax Begonias, but it’s expensive; natural rainwater is the best water source for cultivating Wax Begonias.
The water requirements of potted candelabra flowers vary at different stages of growth and development. During the seedling stage, the plant has a weak root system that is shallowly distributed in the substrate, making it intolerant to drought.
After planting, it should be watered 2-3 times a day to keep the substrate moist and promote the early growth of new roots. Attention should also be paid to the dryness and wetness of the substrate surface.
During the medium and large seedling stages, the plant grows rapidly and requires more water, so it must be adequately supplied.
During the flowering period, watering should be reduced and phosphorus and potassium fertilizers should be added to promote flowering. However, the key to successfully growing candelabra flowers on a large scale is maintaining a relatively high humidity.
Especially during the hot season, the relative humidity in the greenhouse can be increased by using a sprinkler or humidification system.
However, avoid spraying the leaves in the evening and ensure there are no water droplets on the leaves at night to prevent high-temperature scorching of the leaves, leading to scorched leaves, flower bud deformities, and fading.
In the watering process, it is essential to alternate between wet and dry conditions. Never water the plant when it is severely dehydrated as this will affect its normal growth and development.
During the hot season, water once every 2-3 days, and also spray the leaves with water at noon using a sprinkler system to increase relative humidity. During the cold season, water between 9 am and 4 pm to avoid frost damage to the roots.
According to Dutch cultivation experience, root fertilization of candelabra flowers is much more effective than foliar topdressing. This is because the leaf surface of the candelabra flower has a layer of wax that does not absorb fertilizer well. The application of liquid fertilizer should follow the principle of regularity and quantification.
In autumn, fertilize every 3-4 days, or every 2-3 days if the temperature is high, depending on the dryness and wetness of the substrate. In summer, fertilize once every two days and water more when the temperature is high. In autumn, fertilize once every 5-7 days.
Fertilization times vary with climate, but generally, it should be done before 5 pm, and in winter or early spring, before 4 pm.
Every fertilization must be done by a specialist, strictly controlling the dilution concentration and application amount of the liquid fertilizer (mother solution). The pH value of the diluted liquid fertilizer should be adjusted to around 5.7, and the EC value should be 1.2ms/cm when applied.
Furthermore, two hours after the application of liquid fertilizer, spray the leaves with water using a sprinkler system to wash off the residual fertilizer on the leaves, keep the leaves clean, and prevent the growth of algae.
The growth cycle of candelabra flowers is “leaf → flower→ leaf → flower.” Flower spikes form in the axil of each leaf. This results in equal yields of flowers and leaves. The most critical factor in yield differences is light.
If there is too little light, the plant produces less assimilates due to photosynthesis. If the light is too strong, some leaves of the plant will warm up, possibly causing leaf discoloration, scorching, or wilting.
Therefore, the success of light management directly affects the amount of assimilates produced by the candelabra flowers and the quality of the final product. To prevent discoloration or scorching of flower buds, shading protection is necessary.
The amount of light reaching candle flowers in a greenhouse can be regulated using a movable shading net.
On sunny days, 75% of the light is blocked, with the ideal greenhouse lighting being around 20,000 Lux, and the maximum light intensity should not exceed 25,000 Lux for an extended period of time. In the morning, evening or on rainy days, shading is not necessary.
However, candle flowers have varying light requirements at different growth stages. For instance, during the nutritional growth stage, higher light is required, which can be increased to promote growth.
During flowering, the light requirement is lower and can be adjusted to 10,000 to 15,000 Lux using a movable shading net to prevent bud color changes, affecting aesthetics.
The temperature requirement for candle flower growth mainly depends on other climatic conditions. The relationship between temperature and light is very important. Generally, on cloudy days, the temperature needs to be 18-20°C, with humidity between 70%-80%.
On sunny days, the temperature needs to be 20-28°C, with humidity around 70%. In summary, the temperature should be kept below 30°C and the humidity above 50%.
In the hot season, the stronger the light, the higher the indoor temperature. At this time, the relative humidity of the greenhouse air can be increased through a sprinkler system or fogging system, but it is necessary to ensure that the plants are not too wet at night to reduce the occurrence of diseases. The indoor humidity can also be reduced by opening ventilation equipment to avoid bud failure or malformation due to high temperatures.
In the cold winter season, when the daytime and nighttime indoor temperature is below 15°C, heating is required; when the temperature is below 13°C, a heater is needed for warming and frost protection, ensuring the plants safely overwinter.
Candle flowers require a relatively high temperature and corresponding high humidity for growth, so high temperatures and high humidity are beneficial for candle flower growth. Temperature and humidity are closely related.
When the temperature is below 20°C, maintaining the natural indoor environment is sufficient; when the temperature reaches 28°C or above, a sprinkling system or fogging system must be used to increase the relative humidity of the indoor air, creating a high temperature and high humidity growth environment for the candle flowers.
However, even in winter, it is not appropriate to reduce temperature and maintain humidity excessively even if the greenhouse temperature is high, because the leaves of plants are too wet at night, which reduces their ability to withstand cold, making them prone to frostbite and not conducive to safely overwintering.
After a period of cultivation and management, the substrate of candle flowers will undergo biological degradation and salinization, which will lower the pH value of the substrate and increase the EC value, affecting the root system’s ability to absorb nutrients and water.
Therefore, the pH value and EC value of the substrate must be regularly measured, and the proportion of various nutrients should be adjusted according to the measured data to promote the plants’ absorption of nutrients and water.
Most candle flowers will naturally sprout many small suckers at the root, competing for nutrition with the mother plant, which keeps the plant in a juvenile state and affects the plant shape. Bud removal can begin early to minimize damage to the mother plant.
The primary diseases of wax begonias include bacterial wilt, root rot, and leaf spot. Of these, bacterial wilt is devastating and must be urgently controlled.
The disease often starts on the leaves and flowers, with symptoms appearing as brown spots surrounded by yellowing, transitioning from healthy to infected tissue with water-soaked spots. The spread and destructive speed of wilt disease is swift, primarily attacking the leaves.
When the infection intensifies to systemic damage, it kills the entire plant. Currently, no effective medicine is available to treat bacterial wilt. Therefore, once an outbreak occurs, drastic measures must be taken to thoroughly destroy infected and nearby plants, and strict disease prevention measures must be applied to the remaining plants.
Root rot and leaf spot in wax begonias are predominantly fungal infections. Using fungicides can yield good control results, and with meticulous water and fertilizer management, infected plants generally recover robust growth.
Wax begonias are beautiful in both flower and leaf, with a long blooming period, making them excellent cut flowers.
Arrangements using red wax begonias as the main material, complemented by small chrysanthemums, gaura, ginger lilies, and alternanthera, have a strong southern charm. If wax begonias are the primary flower in a basket arrangement, accompanied by Anthurium, Clivia, Lilies, and Asparagus fern, it makes an extraordinarily exquisite holiday gift.
Wax begonias can absorb human waste gases (ammonia, acetone), as well as various harmful gases (formaldehyde, etc.) left over from renovation. At the same time, they can maintain air humidity, preventing the human nasal mucosa from drying out.

Peggie was once a high school mathematics teacher, but she set aside her chalkboard and textbooks to follow her lifelong passion for flowers. After years of dedication and learning, she not only established a thriving flower shop but also founded this blog, “Flowers Library”. If you have any questions or wish to learn more about flowers, feel free to contact Peggie.
 English
  العربية
  Bahasa Indonesia
  Deutsch
  Français
  Italiano
  Nederlands
  Português
  Русский
  日本語
日本語